The Novice’s Guide To Digging A Trench
So, you’ve got to dig a trench for the first time in your life; how do you do it? They’re a relatively straightforward task, but if you’ve never done it before, don’t go charging straight in. If you’re a trench-digging novice and you make no preparations, not only will you make the job harder than it needs to be, but you’ll risk an injury too.
Here at GeoTrencher, we’ve spent a disproportionately large amount of time digging in the ground. We’ve picked up a few tips on how to make trenches quickly and efficiently and thought we’d share them with you. If you’ve recently got a job as a landscape gardener and want to avoid any mistakes, here’s what you need to know.
Preparation Is Everything
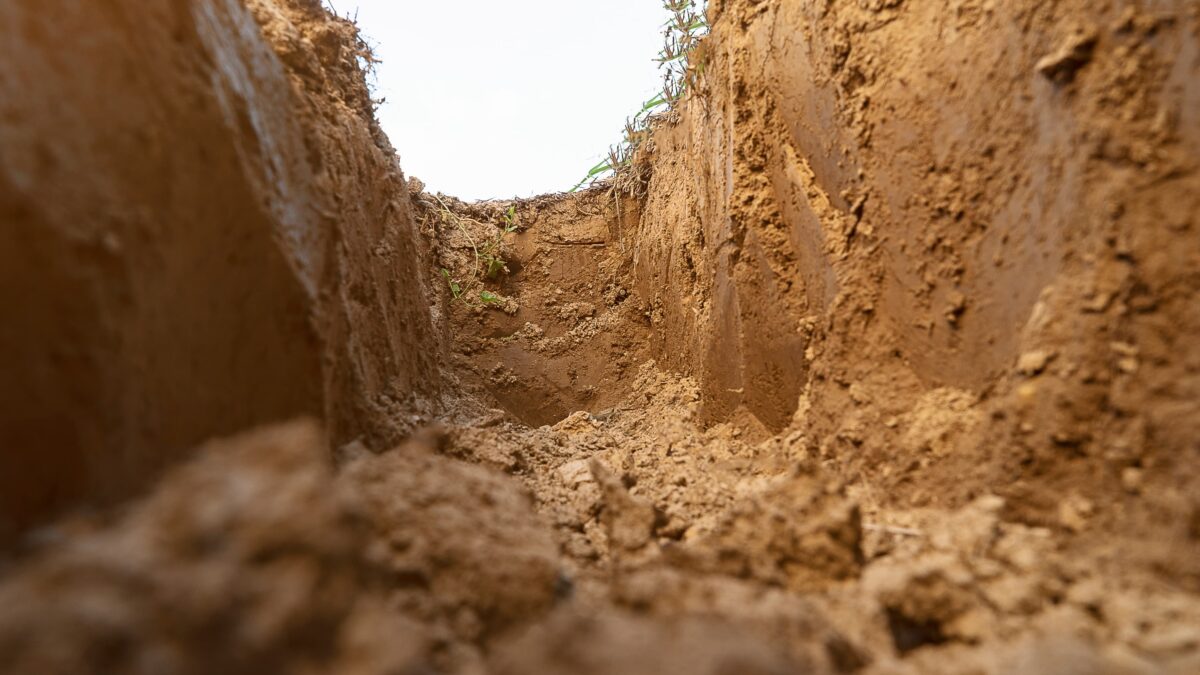
Before you even think about starting, you need to know where the new trench is going to be. If you’re digging irrigation in a farm field for instance, work out the exact start and finish points and try to follow a straight line between them. Marking the path is a good idea too; it’s remarkably easy to deviate from it while digging and not realise. Make sure you know the proposed dimensions too, or you’ll have to go back and widen it later.
Next, think about what tools you’re going to need. There’s the old reliable shovel of course, but for larger jobs, we would always recommend using powered trenching equipment. They’re quicker and less physically demanding than shovels. If the job is a one-off and you’re not likely to dig any more trenches in the near future, a shovel might be the more economical option. However, if you’re a professional gardener, landscaper or farmer, a trencher is well worth the investment.
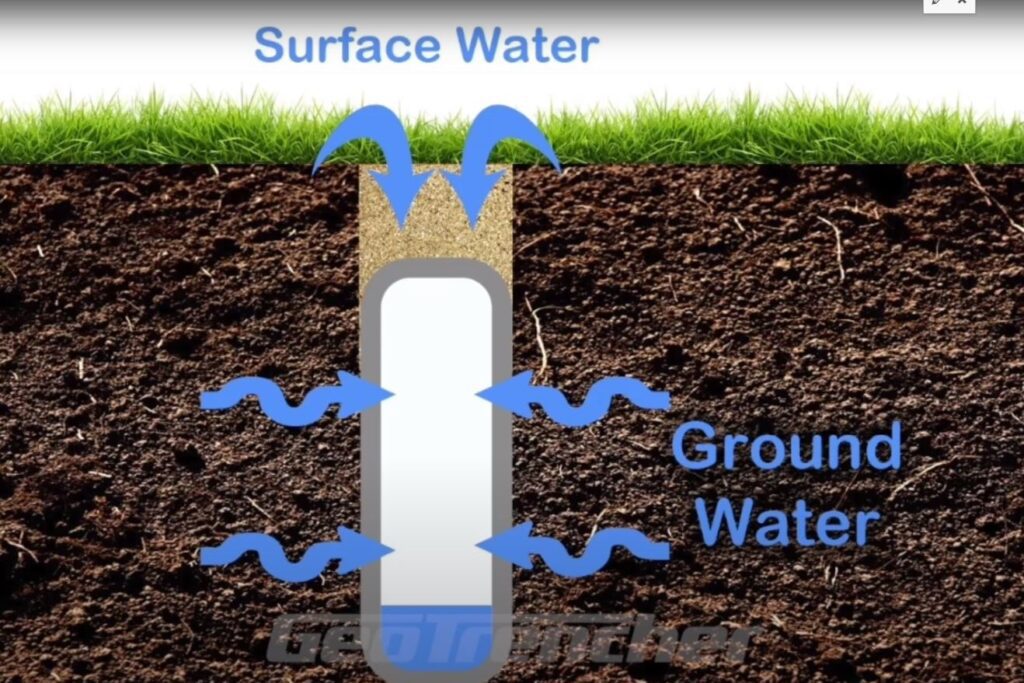
The last thing to ask yourself is where all the dirt’s going to go? The obvious answer is piling it up on the side of the trench, but this isn’t always an option. It’s fine just to leave it where it lands if you’re planning on refilling the trench later (for example, if you’re putting in a new water pipe). However, if it’s going to remain open, be aware that even the smallest trench can produce a surprisingly large amount of dirt.
Using Trenching Tools
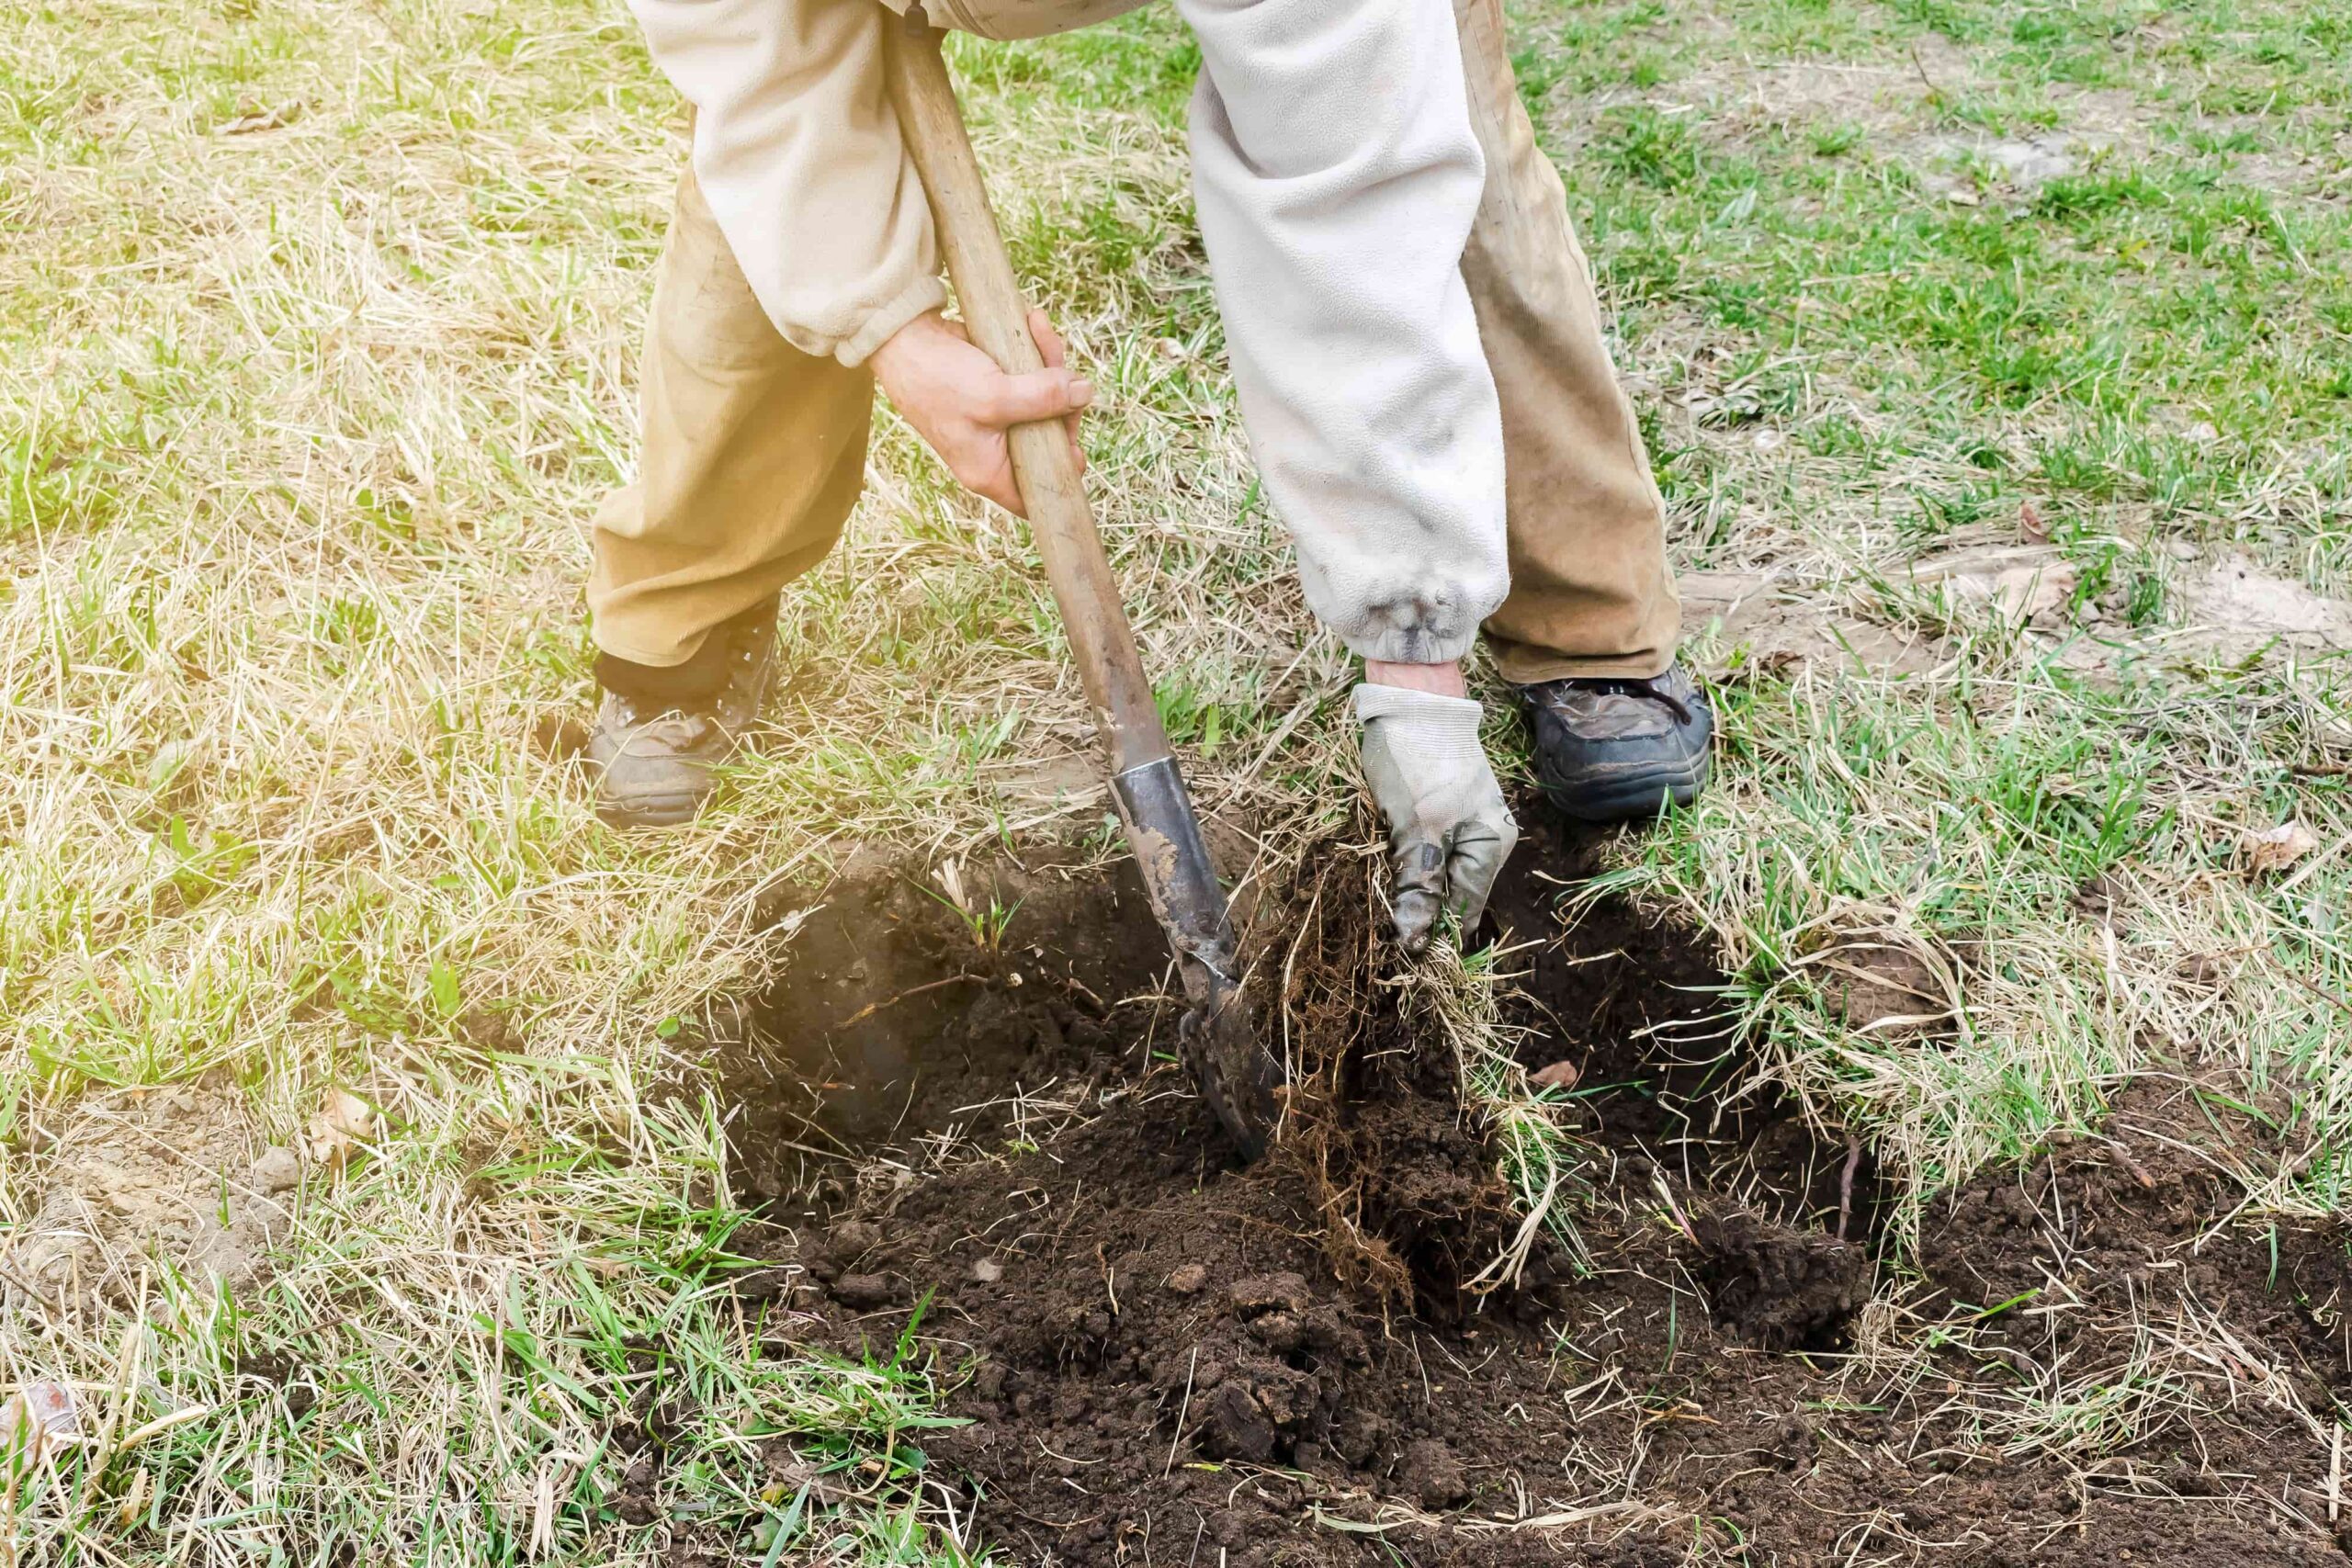
With all the prep out the way, it’s time to get your hands dirty. If using a shovel, sink the blade into the ground, bend your knees and then heave the dirt out, straightening your legs as you do so. Then, repeat for as long as the job requires. Try to get into a methodical pattern and don’t rush. Good form is everything here, if you only use your arms to dig, you’ll injure your back.
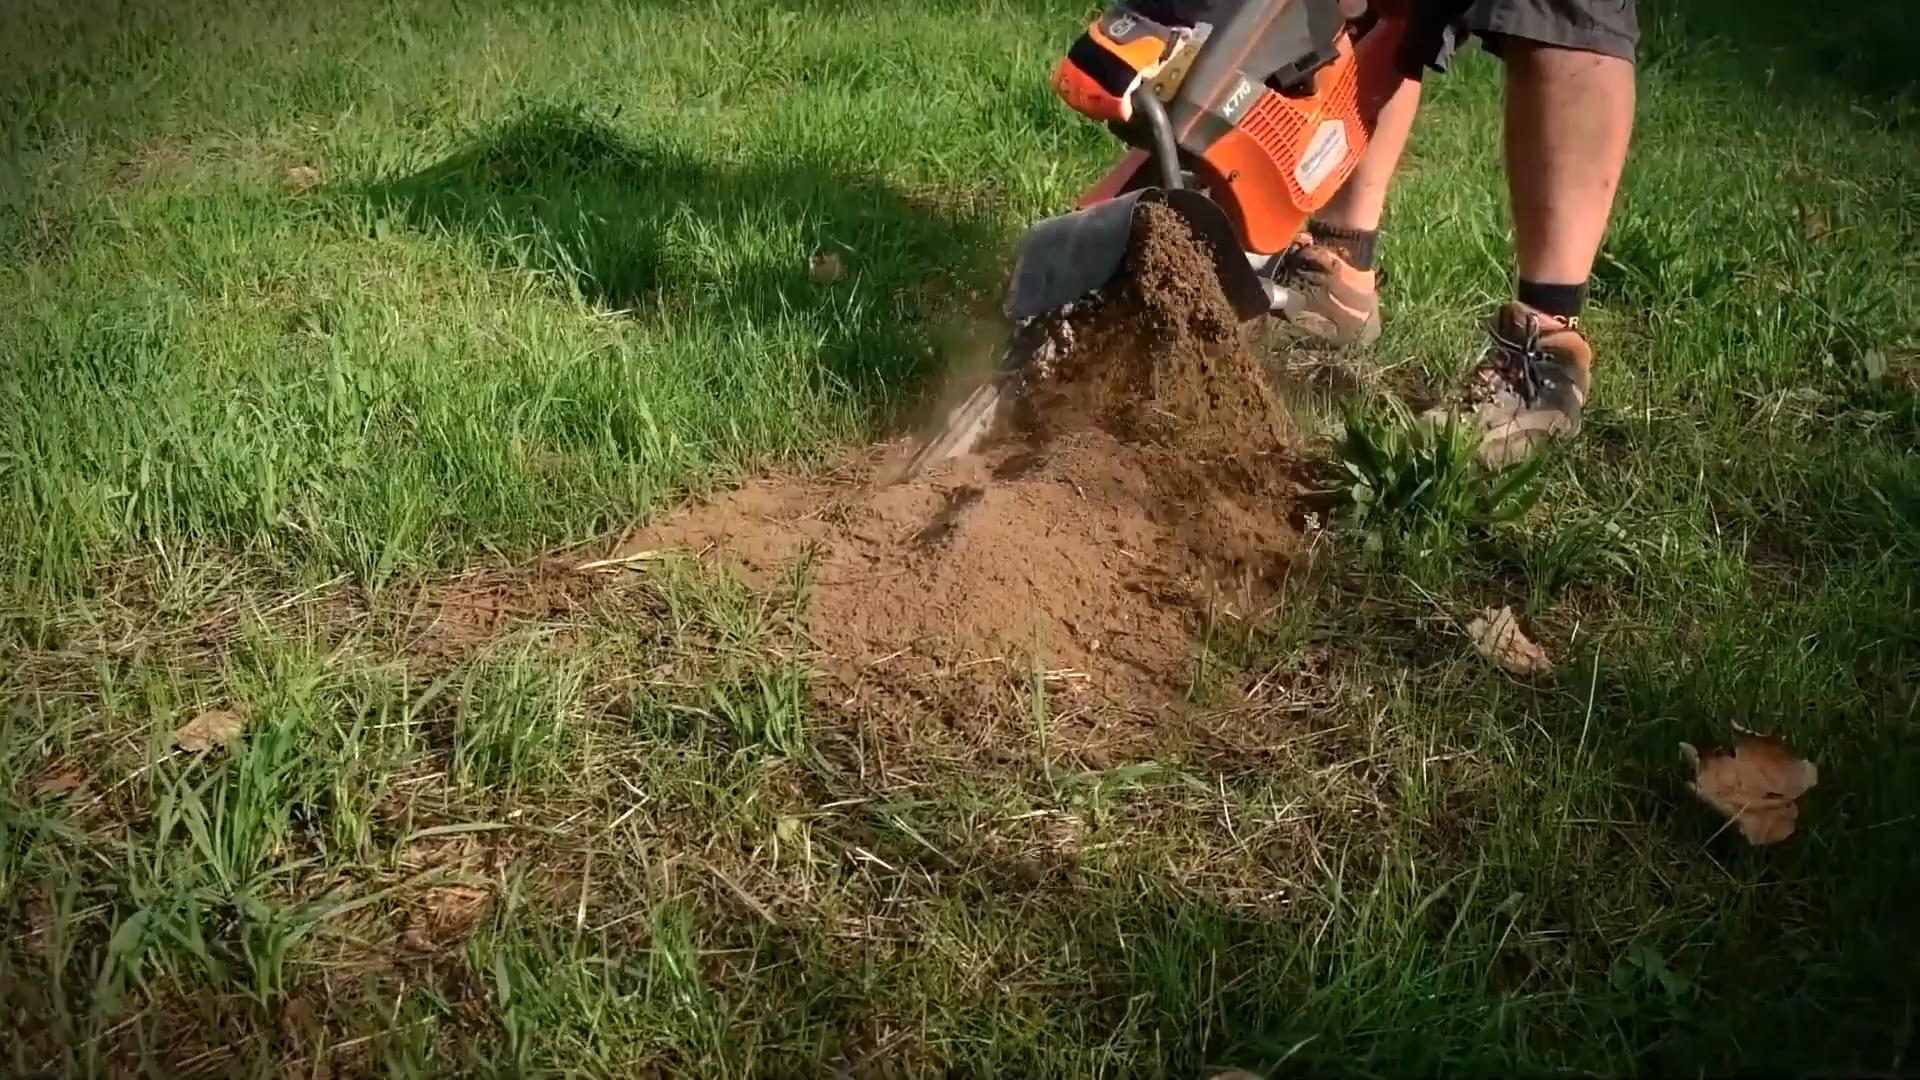
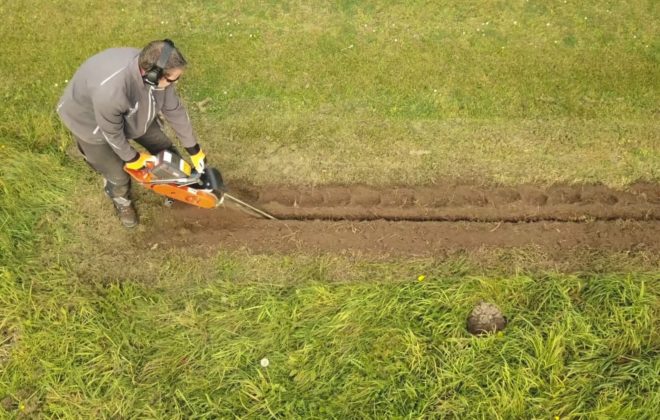
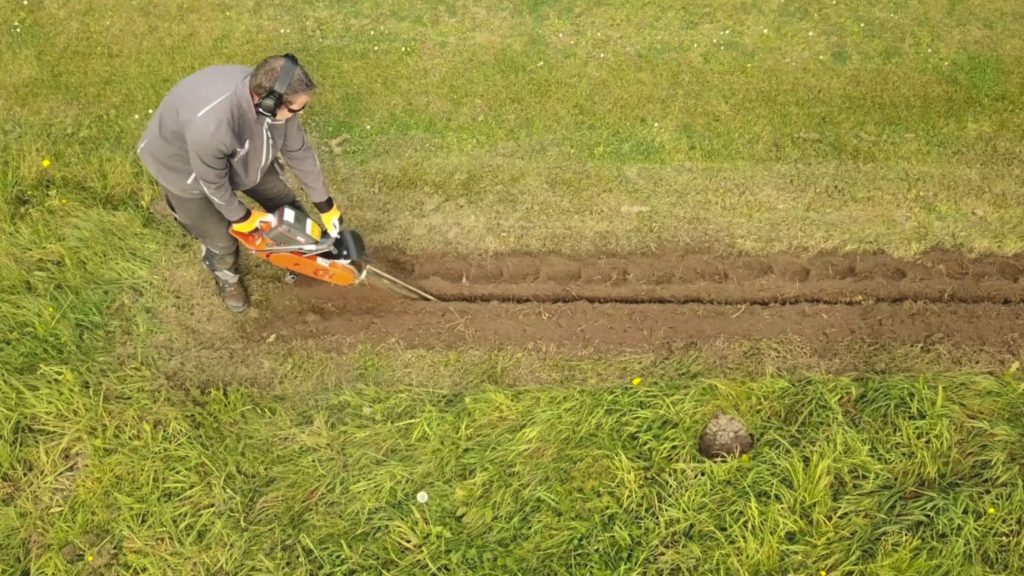
Alternatively, use your trenching equipment. You may have seen larger, ride-along trenchers but these are reserved for the biggest jobs, and we’re going to focus on the smaller, handheld equivalents here. They resemble chainsaws and are used for digging ditches up to 27 inches deep. Put on a pair of gloves so there’s less chance of the trencher slipping out of your hands, turn it on and you’ll be able to cut the path out quicker than if using a shovel. Be sure to wear a pair of safety goggles though, they have a tendency to kick up dust more than shovels do and this can get uncomfortable without eye protection.
Once the trench is dug, walk along its edge and check for any irregularities. Remove any deep-rooted plants that might still be stuck in it, clear any large rocks and that’s it all the same depth. It can be demanding work, but it’s also quite satisfying to admire your achievement after it’s done.
Of course, using a portable trencher is our preferred method. It makes things far easier and quicker. And if you’re looking for a new Geotrencher, you’ve come to the right place. Visit our online shop to browse our collection or contact us if you’ve got any questions. We’ll be happy to talk and help in any way we can.

